There is something truly special about a red velvet cupcake. It is not just another chocolate cake, not just a bright color. It is a unique flavor, a tender crumb, and a tradition that feels like a celebration all by itself.
I used to think these were only for Valentine’s Day or Christmas, but I have since learned that is a serious mistake. The unique taste of red velvet, that subtle tang and velvety texture, is a joy we should allow ourselves year-round.
This recipe is my absolute favorite version. After plenty of testing, I found the perfect balance of ingredients to get that classic, soft, buttery crumb that practically melts in your mouth. Topped with a tangy cream cheese frosting, it is pure bliss.
Best of all, they are surprisingly straightforward to make. If you have been hesitant to try homemade red velvet, consider this your friendly nudge. Let us fill the kitchen with that gorgeous red batter and make something wonderful.
Ingredients Needed for the Recipe
Gathering your ingredients is the first step to success. Most of these are pantry staples, with a few special players that make red velvet what it is. Here is what you will need to make about 16 perfect cupcakes.
- Cake Flour: This is the secret to a supremely soft, light cupcake. Its lower protein content creates a delicate crumb. My go-to is Pillsbury Softasilk.
- Natural Cocoa Powder: Just two tablespoons. It provides a hint of chocolate depth without overwhelming the other flavors.
- Granulated Sugar & Unsalted Butter: For sweetness and that irreplaceable rich, buttery taste. We cream them together to build the cupcake's structure.
- Oil: I use a neutral oil like canola. Combined with the butter, it guarantees a moist cupcake that stays tender for days.
- Buttermilk: This is non-negotiable for authentic flavor. It provides a slight tang and reacts with the other ingredients for the perfect rise.
- Liquid Red Food Coloring: For that iconic, vibrant red hue. I have the best results with classic liquid food coloring.
- Distilled White Vinegar: Just half a teaspoon. It enhances the red color and helps the baking soda do its leavening job.
- Vanilla Extract & an Egg: For flavor and binding everything together beautifully.
- For the Frosting: You will need a block of full-fat cream cheese, more unsalted butter, powdered sugar, and vanilla. Brick-style cream cheese is key for a stable, pipeable frosting.
Before you start, take your cold ingredients out. The butter, egg, and buttermilk should come to room temperature. This simple step ensures a smooth, evenly mixed batter that bakes up perfectly.
A Few Helpful Notes Before You Start
Baking is part science and part heart. A couple of small details can make a big difference in your final cupcakes, so let us talk about them quickly. First, how you measure your flour really matters.
Always spoon the flour lightly into your measuring cup and level it off with a knife. Do not scoop directly from the bag, as that packs in too much flour and leads to dry cupcakes. If you do not have cake flour, you can make a substitute.
For every cup of all-purpose flour, remove two tablespoons and replace them with two tablespoons of cornstarch. Sift it together several times. It works in a pinch, though real cake flour is ideal. Now, let us talk about that frosting.
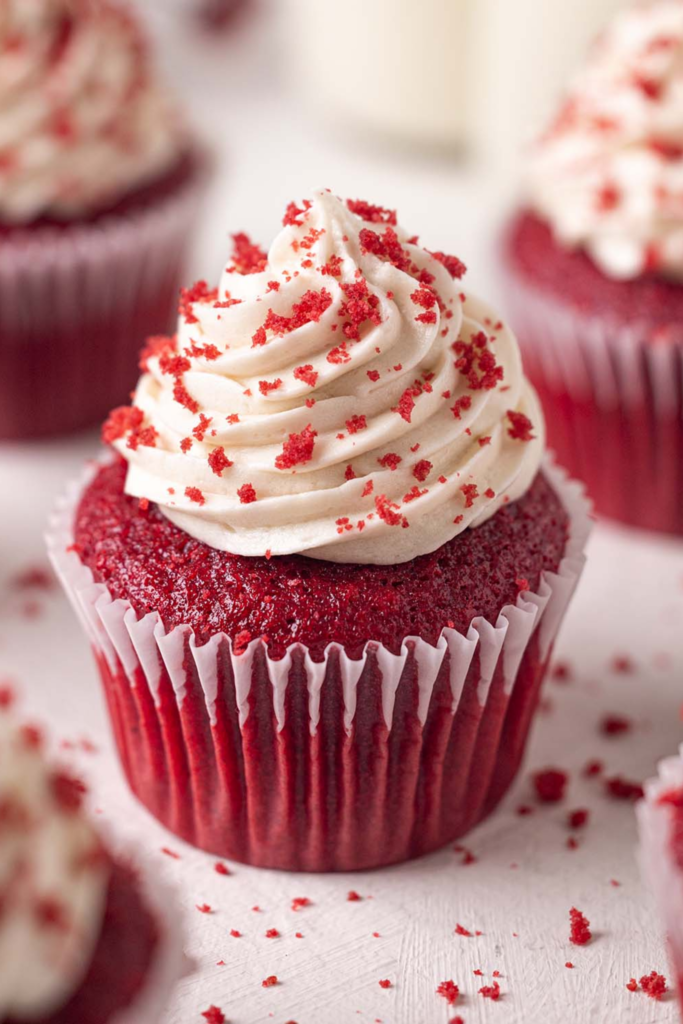
Be sure to use block cream cheese, not the spreadable kind in a tub. The tub versions have added stabilizers that can make your frosting runny. A full-fat brick will give you the thick, luscious frosting you see in the pictures.
How to make Red Velvet Cupcakes?
The process is simple and satisfying. I like to get everything prepped before I begin mixing, a method often called *mise en place*. It makes the whole experience calm and enjoyable. Preheat your oven to 350°F (180°C) first.
Line two standard muffin tins with 16 cupcake liners. The recipe makes about 16, so you will not fill every well. This gives the cupcakes room to bake evenly. Now, let us make the batter.
Step 1 – Combine Your Dry Ingredients
In a large bowl, sift together the cake flour and cocoa powder. Sifting is important here to remove any lumps and to aerate the flour. Then, whisk in the baking soda and salt until everything is evenly distributed. Set this bowl aside for now.
Step 2 – Cream the Butter and Sugar
In the bowl of a stand mixer fitted with a paddle attachment, or using a large bowl and a handheld mixer, beat the softened butter and granulated sugar together. Start on low, then increase to medium speed.
You will want to beat this for a full 4 to 5 minutes. It might seem long, but this is crucial. The mixture should become very pale, fluffy, and almost creamy. This step incorporates air, which gives your cupcakes a lighter texture.
Step 3 – Add the Wet Ingredients
Scrape down the sides of the bowl. Add the room temperature egg and mix until it is fully blended in. Next, pour in the oil, the tablespoon of red food coloring, the vanilla extract, and that half teaspoon of vinegar.
Mix on medium speed until the batter is a shocking, uniform red. It will look glossy and smooth. Stop and scrape down the bowl again to ensure no streaks of butter remain.
Step 4 – Alternate Dry Ingredients and Buttermilk
With the mixer on low speed, add about one-third of your dry ingredient mixture. Mix until just combined. Then, pour in half of the buttermilk. Mix it in, then add another third of the dry ingredients.
Follow with the last of the buttermilk, and finish with the final portion of dry ingredients. The key is to mix each addition only until the flour disappears. Overmixing at this stage can lead to tough cupcakes.
Step 5 – Fill the Liners and Bake
The batter will be a beautiful, deep red and fairly thick. Using a large spoon or cookie scoop, divide it evenly among the 16 prepared liners. Fill them only halfway.
I know it will not look like enough batter, but trust me. These cupcakes rise beautifully. Overfilling will cause messy overflow in the oven. Bake for 15 to 18 minutes.
They are done when the tops spring back lightly to the touch and a toothpick inserted into the center comes out clean or with a few moist crumbs. Avoid overbaking.
Step 6 – Cool and Make the Frosting
Let the cupcakes cool in the pan for about 5 minutes, then transfer them to a wire rack to cool completely. Warm cupcakes will melt the frosting. While they cool, make the cream cheese frosting.
In a clean bowl, beat the softened cream cheese until it is completely smooth. Add the softened butter and beat for another minute until the two are fully combined and creamy. Sift in the powdered sugar to avoid lumps.
Add the vanilla, then beat on low speed until the sugar is incorporated, then on medium until the frosting is smooth and fluffy. Once the cupcakes are fully cool, pipe or spread the frosting on top.
Serving and Storing Your Creations
These cupcakes are fantastic the day they are made, but I think the flavor settles in even more beautifully after a few hours. The tang of the cream cheese frosting against the subtle chocolate and buttery cake is just perfect.
Because of the cream cheese frosting, you do need to store them in the refrigerator. Place them in a single layer in an airtight container. They will keep nicely for up to 4 days.
Let them sit at room temperature for about 20 minutes before serving. This takes the chill off and allows the frosting to soften to its ideal creamy texture. They also freeze remarkably well.
You can freeze the unfrosted cupcakes for up to 3 months, well-wrapped. The frosting can be frozen separately in a container. Thaw both in the refrigerator overnight before assembling.
Tips
Over the years, I have picked up a few tricks that make this process even smoother. Here are my top tips for red velvet cupcake success, straight from my kitchen to yours.
- For the brightest red color, use a trusted liquid food coloring like McCormick. Gel colors work too, but start with just a teaspoon and add more as needed.
- No buttermilk? Make a quick substitute. Add 2 teaspoons of lemon juice or white vinegar to a liquid measuring cup, then pour in milk until it reaches the 2/3 cup line. Stir and let it sit for 10 minutes before using.
- When dividing the batter, an ice cream scoop with a release mechanism is a game-changer. It keeps your hands clean and ensures every cupcake is the same size.
- If you want to turn this into a cake, you can bake the batter in a 9-inch round pan for about 30 minutes. For a proper layer cake, I would recommend a recipe specifically designed for that.
- Do not skip the vinegar. It is not just for leavening, it actually makes the red color pop more vibrantly against the dark cocoa powder.
Most importantly, have fun with it. Baking should be a joy, not a stress. If your red is a little deeper or your frosting swirl a little lopsided, it does not matter. It is made with care, and that is what people will taste.
Why This Recipe Works
You might wonder why this particular combination of ingredients is so effective. The magic lies in the balance. Using both butter and oil was a revelation during my testing. Butter alone gave a dry crumb, oil alone lacked flavor.
Together, they create the perfect moist, flavorful base. The small amount of cocoa is intentional. It is there to complement, not dominate, letting the unique "red velvet" flavor shine through.
The vinegar and buttermilk are the other stars. Their acidity tenderizes the gluten in the flour, ensuring that velvety texture, and it creates a slight tang that plays off the sweetness. It is a harmony in a cupcake liner.
Seeing that vibrant batter turn into soft, pillowy cupcakes never gets old. Sharing them with friends or family is even better. I hope this recipe becomes a trusted favorite in your home, too, for holidays and any old Tuesday that needs a little brightening.